Step into the Future: A Detailed Blueprint for Building Your Own AI-Powered Robot
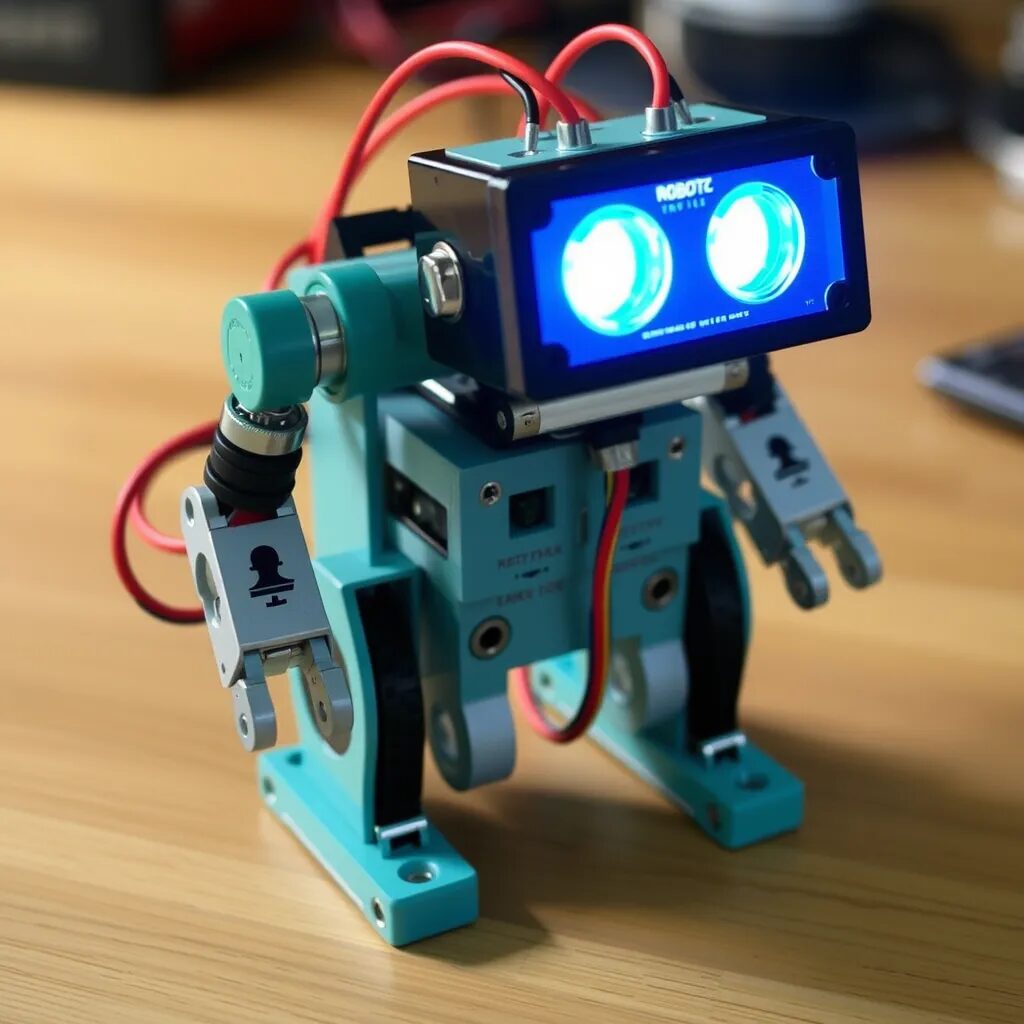
Building your own AI-powered robot is an exhilarating journey that combines creativity, engineering, and cutting-edge technology. Whether you’re a tech enthusiast looking to dive into robotics or a novice eager to explore AI, this guide will walk you through every step of the process. By the end, you’ll have not only a functioning robot but also a deep understanding of how AI can bring machines to life.
Understanding Robotics and AI: The Foundation
Before you begin the physical construction, it’s crucial to grasp the fundamentals of robotics and artificial intelligence (AI). A robot is a programmable machine designed to carry out a series of actions autonomously or semi-autonomously. When you integrate AI, the robot can process data, learn from its environment, and make decisions based on that learning.
Key Concepts in Robotics
- Mechanics: This involves the design and structure of the robot, including its body, joints, and actuators (motors and servos) that enable movement.
- Electronics: This encompasses the sensors, circuits, and microcontrollers that allow the robot to perceive and interact with its surroundings.
- Software: The brain of your robot. It includes the code and algorithms that dictate the robot’s actions and decisions.
Introduction to Artificial Intelligence
- Machine Learning: A subset of AI, where robots learn from data inputs and improve their performance over time.
- Neural Networks: These mimic the human brain’s structure and function, allowing robots to recognize patterns and make decisions based on past experiences.
- Computer Vision: Enables the robot to see and interpret the world through cameras, identifying objects, and even recognizing faces.

Essential Components for Building an AI-Powered Robot
To build your robot, you’ll need several critical components. These parts form the backbone of your creation, providing the necessary structure, power, and intelligence.
Microcontroller or Single-Board Computer
The microcontroller or single-board computer acts as the robot’s brain. Popular options include:
- Arduino: Ideal for beginners, Arduino boards are easy to program and come with a vast array of tutorials.
- Raspberry Pi: A more powerful option, Raspberry Pi is a small computer capable of handling complex tasks, including running machine learning algorithms.
Sensors
Sensors are the robot’s senses, allowing it to gather information about its environment. Key types of sensors include:
- Ultrasonic Sensors: Measure distance by emitting sound waves and calculating the time it takes for the echo to return.
- Cameras: Provide vision, enabling your robot to see and interpret visual data.
- Infrared Sensors: Detect objects and measure proximity, crucial for obstacle avoidance.
- Gyroscopes and Accelerometers: Measure orientation and movement, helping your robot navigate through space.
Actuators
Actuators are the robot’s muscles, enabling movement and interaction with the environment. Common actuators include:
- DC Motors: Provide rotational movement, suitable for wheels or propellers.
- Servos: Offer precise control of angular position, commonly used in robotic arms or joints.
- Stepper Motors: Allow for accurate control of rotation, used in applications requiring precise positioning.
Power Supply
Your robot needs a reliable power source. The choice depends on your robot’s size and power requirements:
- Batteries: Commonly used, with options ranging from AA batteries to rechargeable LiPo (Lithium Polymer) batteries.
- Power Banks: For more power-hungry robots, especially those using Raspberry Pi, portable power banks can provide longer operational time.
AI Software
The software is the heart of your robot’s intelligence. Popular AI frameworks include:
- TensorFlow: An open-source platform that allows for easy implementation of machine learning models.
- PyTorch: Known for its flexibility and ease of use, PyTorch is another powerful tool for developing AI applications.

Step 1: Planning and Designing Your AI-Powered Robot
Before you begin assembly, careful planning is crucial. Decide on the purpose of your robot, as this will dictate its design and functionality.
Defining the Purpose
Ask yourself:
- What tasks should my robot perform? Whether it’s a home assistant, a surveillance bot, or a simple hobby project, the function determines the complexity.
- What environment will it operate in? Indoor environments require different design considerations than outdoor or rugged terrains.
Sketching the Design
Create a blueprint of your robot, considering:
- Size and Shape: Compact robots are easier to build and control, while larger robots can carry more sensors and actuators.
- Mobility: Decide between wheels, tracks, or legs, depending on the terrain your robot will navigate.
- Interaction: Will your robot interact with humans? If so, consider adding a camera for facial recognition or a speaker for voice interaction.
Step 2: Assembling the Hardware
With your design ready, it’s time to start building. This step involves connecting all the physical components to create the robot’s body.
Building the Frame
- Material Selection: Choose a lightweight and sturdy material, such as aluminum or plastic. Kits are available that provide pre-cut frames and mounting hardware.
- Mounting Components: Secure the microcontroller, sensors, and actuators to the frame. Ensure that all components are firmly attached to avoid damage during operation.
- Wiring: Carefully connect sensors and actuators to the microcontroller. Use jumper wires and a breadboard to test connections before finalizing the layout.
Integrating Sensors and Actuators
- Sensor Placement: Position sensors where they can effectively gather data, such as at the front for ultrasonic sensors or on top for cameras.
- Actuator Alignment: Ensure motors and servos are aligned with the robot’s intended movement. Test each actuator individually to verify proper functionality.
Step 3: Programming the Robot’s AI
Programming is where your robot begins to come to life. This step involves writing code that allows your robot to process data and make decisions.
Setting Up the Development Environment
- Choose a Programming Language: Python is a popular choice due to its simplicity and robust libraries for AI and robotics.
- Install Necessary Libraries: Depending on your microcontroller or computer, install libraries such as OpenCV for computer vision, TensorFlow for machine learning, and GPIO libraries for hardware control.
Writing Basic Code
- Movement: Start by programming basic movement functions, allowing your robot to move forward, backward, turn, and stop.
- Sensor Integration: Write code to process data from sensors. For example, you can program your robot to stop moving when the ultrasonic sensor detects an obstacle within a certain range.
Implementing AI
- Machine Learning Models: Develop and train models using data. For instance, you can create a model that enables the robot to recognize and avoid obstacles based on past encounters.
- Neural Networks: Integrate neural networks to handle more complex tasks, such as recognizing objects or even understanding simple voice commands.
Step 4: Training the AI Model
Your robot needs to learn how to perform its tasks effectively. Training is a critical step where your AI model becomes more accurate over time.
Supervised Learning
- Data Collection: Gather labeled data that the robot will use to learn. For example, collect images of objects the robot should recognize.
- Model Training: Feed the data into your machine learning model and train it to identify patterns. This might involve teaching the robot to distinguish between different types of objects or to recognize specific areas in a room.
Reinforcement Learning
- Trial and Error: In reinforcement learning, the robot learns by attempting tasks and receiving feedback. For instance, if the robot bumps into an obstacle, it receives negative feedback, while successful navigation through a path earns positive reinforcement.
- Continuous Improvement: As your robot continues to operate, it refines its behavior, becoming more adept at its tasks through repeated experiences.
Step 5: Testing and Debugging
With your robot fully assembled and programmed, it’s time to test it in a controlled environment.
Initial Testing
- Controlled Environment: Test your robot in a safe, controlled space to monitor its behavior. Ensure that it can move correctly, respond to sensor data, and execute AI-driven tasks.
- Behavior Analysis: Observe how the robot reacts to different scenarios. Does it avoid obstacles? Can it identify objects correctly?
Debugging
- Troubleshooting Code: If the robot doesn’t perform as expected, carefully review your code. Look for logical errors, incorrect sensor readings, or issues with the AI model.
- Hardware Adjustments: Sometimes, problems arise from hardware. Check all connections, ensure components are functioning, and make any necessary adjustments.
Step 6: Enhancing and Upgrading Your Robot
Once your robot is operational, you can begin enhancing its capabilities. This step is all about pushing the boundaries of what your robot can do.
Adding More Sensors
- Environmental Awareness: Equip your robot with additional sensors, such as a GPS module for location tracking or temperature sensors for environmental monitoring.
- Enhanced Interaction: Integrate microphones and speakers for voice recognition and response, enabling more dynamic interactions with users.
Upgrading AI Algorithms
- Natural Language Processing (NLP): Implement NLP to allow your robot to understand and respond to verbal commands. This could involve simple tasks like answering questions or more complex interactions.
- Deep Learning Models: Explore deep learning techniques for more sophisticated tasks, such as autonomous navigation in complex environments or advanced image recognition.
Hardware Improvements
- **More Powerful Motors**: Upgrade to stronger motors for better speed and agility, particularly if your robot needs to cover larger distances or carry heavier loads.
- Advanced Cameras: Swap out basic cameras for higher-resolution or thermal imaging cameras to expand your robot’s vision capabilities.

DIY Robotics Tutorial: Build Your First Robot from Scratch
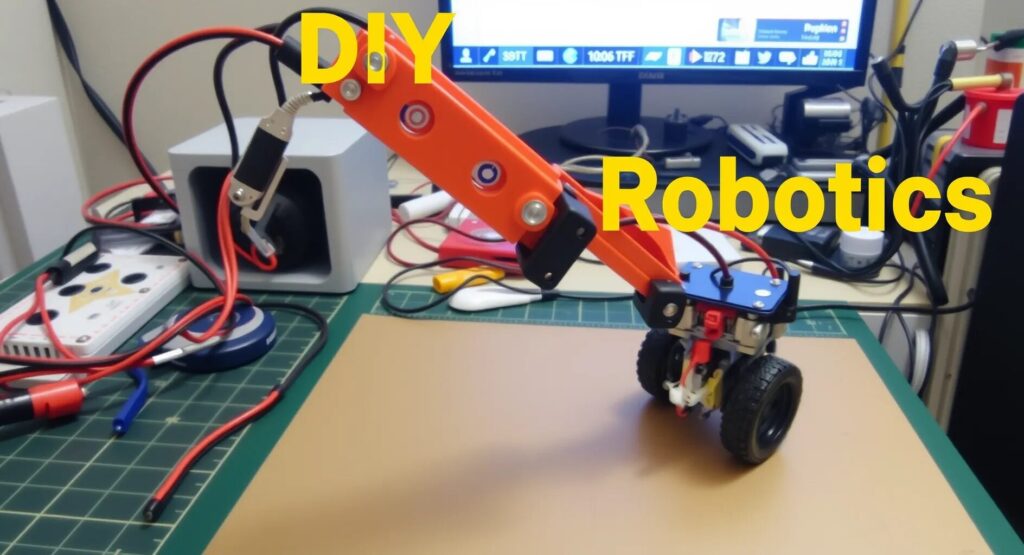
Unleash Your Creativity with DIY Robotics: A Beginner’s Guide
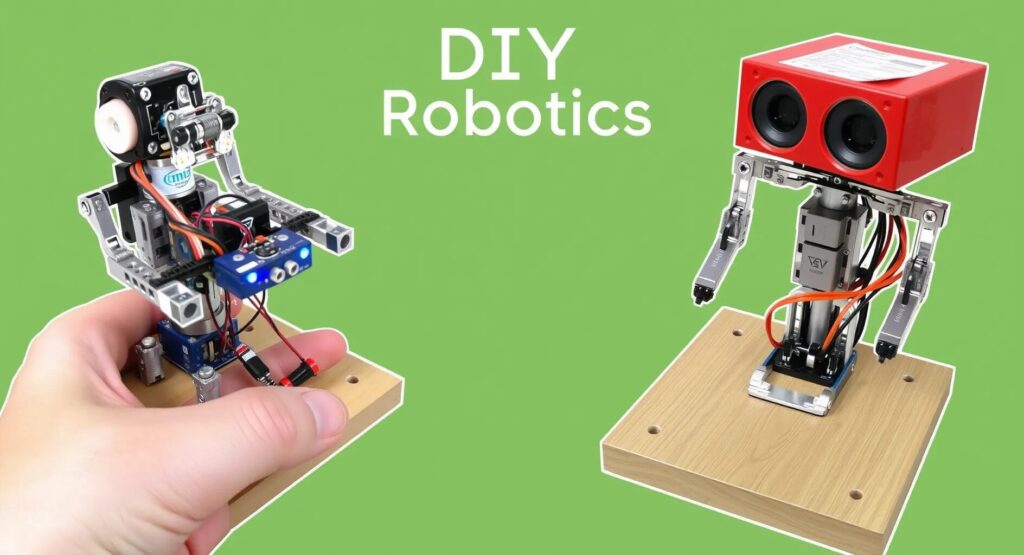
Whether you’re a hobbyist or a budding engineer, this tutorial will guide you through the steps to create a simple, functional robot using readily available components.
Getting Started: What You Need to Know
Before diving into the construction process, it’s essential to understand the basic components and concepts of robotics. A robot is typically made up of three main systems:
- Mechanical System: This includes the structure, motors, and wheels or legs that allow the robot to move.
- Control System: The “brain” of the robot, usually a microcontroller or computer, which processes inputs and controls the outputs.
- Power System: Provides the necessary energy to run the motors, sensors, and controller.
Materials and Tools You’ll Need
For this project, you’ll need the following materials and tools:
Materials
- Microcontroller: An Arduino board is a popular choice for beginners due to its simplicity and wide range of tutorials.
- Chassis: A pre-built robot chassis or a custom-built frame made from materials like acrylic or aluminum.
- Motors: DC motors or servo motors for movement.
- Wheels: Two or more wheels, depending on your robot’s design.
- Motor Driver: An L298N motor driver module to control the motors.
- Battery Pack: A set of AA batteries or a rechargeable LiPo battery.
- Sensors: Ultrasonic sensor for obstacle detection, or IR sensors for line following.
- Wires and Connectors: Jumper wires and connectors to link components.
- Breadboard: For easy circuit assembly.
- Screws, Nuts, and Bolts: To secure components to the chassis.
Tools
- Screwdriver Set: For assembling the chassis and mounting components.
- Wire Stripper: To prepare wires for connections.
- Soldering Iron (optional): For more permanent connections.
- Multimeter: For testing connections and power levels.
Step 1: Building the Chassis
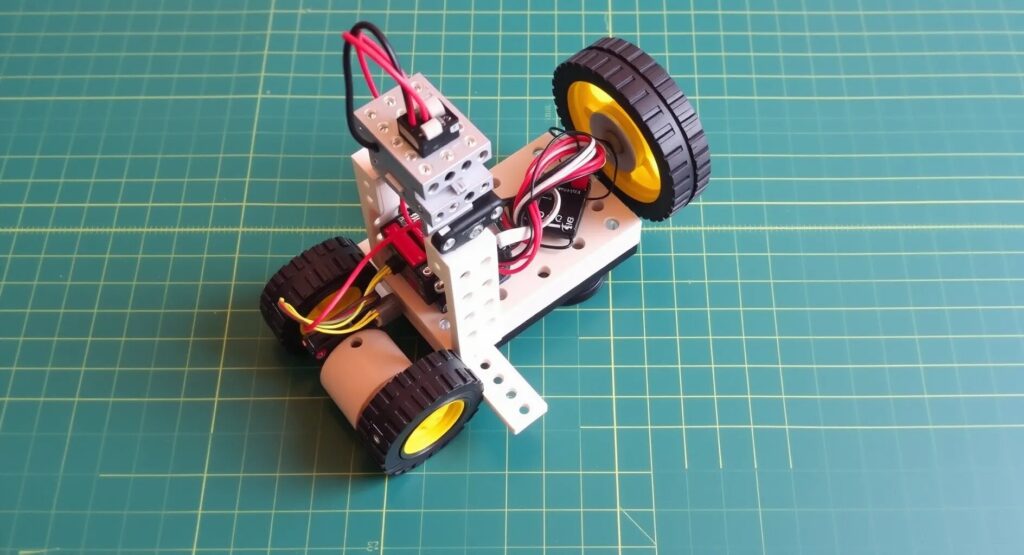
The chassis forms the foundation of your robot. It houses all the components and ensures they are securely attached.
- Assemble the Frame: If using a pre-built chassis, follow the instructions to assemble it. If building from scratch, cut and shape your material to form a stable base. Attach wheels or tracks to the chassis.
- Mount Motors: Secure the motors to the chassis. Ensure they are aligned properly to drive the wheels straight.
- Install Motor Driver: Attach the motor driver to the chassis. The L298N motor driver module will allow you to control the speed and direction of the motors.
Step 2: Setting Up the Electronics
With the mechanical parts in place, it’s time to work on the electronics. This involves connecting the microcontroller, motors, and sensors.
- Connect the Motors to the Motor Driver: Attach the motor terminals to the output pins of the motor driver. The motor driver will take inputs from the microcontroller to control the motors.
- Wire the Motor Driver to the Microcontroller: Connect the input pins of the motor driver to the corresponding digital pins on the Arduino. Also, connect the power and ground pins of the motor driver to the Arduino.
- Attach the Battery Pack: Connect the battery pack to the power input of the motor driver. This will power the motors directly.
- Install Sensors: Attach sensors like the ultrasonic sensor or IR sensors to the front of the chassis. Connect these sensors to the appropriate pins on the microcontroller.
Step 3: Programming the Microcontroller
Programming is where you give life to your robot. The code will tell your robot how to move, respond to sensor data, and perform tasks.
- Install Arduino IDE: Download and install the Arduino Integrated Development Environment (IDE) on your computer.
- Write the Code: Start with basic code that makes the robot move forward, backward, and turn. Use the following example as a starting point:
// Define motor pins
int motor1Pin1 = 2;
int motor1Pin2 = 3;
int motor2Pin1 = 4;
int motor2Pin2 = 5;

void setup() {
  pinMode(motor1Pin1, OUTPUT);
  pinMode(motor1Pin2, OUTPUT);
  pinMode(motor2Pin1, OUTPUT);
  pinMode(motor2Pin2, OUTPUT);
}

void loop() {
  // Move forward
  digitalWrite(motor1Pin1, HIGH);
  digitalWrite(motor1Pin2, LOW);
  digitalWrite(motor2Pin1, HIGH);
  digitalWrite(motor2Pin2, LOW);
  delay(1000); // Move forward for 1 second

  // Stop
  digitalWrite(motor1Pin1, LOW);
  digitalWrite(motor1Pin2, LOW);
  digitalWrite(motor2Pin1, LOW);
  digitalWrite(motor2Pin2, LOW);
  delay(500); // Stop for 0.5 seconds

  // Move backward
  digitalWrite(motor1Pin1, LOW);
  digitalWrite(motor1Pin2, HIGH);
  digitalWrite(motor2Pin1, LOW);
  digitalWrite(motor2Pin2, HIGH);
  delay(1000); // Move backward for 1 second
}
Upload the Code: Connect the Arduino to your computer via USB and upload the code using the Arduino IDE.
Step 4: Testing Your Robot
Once the code is uploaded, it’s time to test your robot. Place it on a flat surface and observe its movements.
- Basic Movement Test: Run the basic movement code and ensure that the robot moves as expected. It should move forward, stop, and move backward according to the program.
- Sensor Test: If you have installed sensors, test them by placing objects in front of the robot. Adjust the code if necessary to fine-tune the sensor responses.
- Troubleshooting: If the robot doesn’t perform as expected, check the wiring, connections, and code for errors. Use a multimeter to ensure that the motors are receiving power.
Step 5: Enhancing Your Robot
With a basic functioning robot, you can now add more features and improve its capabilities.
- Add More Sensors: Consider adding additional sensors, such as light sensors, temperature sensors, or a camera module for computer vision.
- Upgrade the Power System: If your robot needs to run for longer periods, consider upgrading to a more powerful battery or adding a solar charging system.
- Explore Advanced Programming: Implement more complex behaviors, such as line following, object avoidance, or even autonomous navigation using machine learning algorithms.
Conclusion: Your First Step into Robotics
Congratulations! You’ve built your first DIY robot. This project is just the beginning of what you can achieve in the world of robotics. With each new feature and upgrade, you’ll deepen your understanding of how robots work and how they can be applied in various fields. Keep experimenting, learning, and innovating—your journey in robotics has only just begun.
Resources
Books
- “Make: Electronics” by Charles Platt
- A beginner-friendly guide to electronics that is perfect for learning the fundamentals of circuit design and components, which are crucial for building robots.
- “Robot Builder’s Bonanza” by Gordon McComb
- A comprehensive guide to building robots, packed with practical projects, tips, and tricks for both beginners and experienced builders.
- “Python Robotics Projects” by Prof. Diwakar Vaish
- This book is ideal for those looking to integrate AI and Python programming into their robotics projects.
Online Tutorials and Courses
- Coursera – “Introduction to Robotics”
- An introductory course that covers the basics of robotics, including kinematics, control, and AI. Ideal for beginners looking to build a strong foundation.
- MIT OpenCourseWare – “Underactuated Robotics”
- A more advanced course that delves into the theory and practice of robotics, including dynamics, control, and planning.
- Adafruit Learning System
- A vast collection of tutorials on various electronics and robotics projects, perfect for hobbyists and makers.
- SparkFun Tutorials
- Detailed guides and tutorials on robotics and electronics projects, with a focus on practical, hands-on learning.
Websites and Forums
- Arduino Official Website
- Offers comprehensive documentation, tutorials, and a community forum where you can ask questions and share your projects.
- Raspberry Pi Foundation
- A resource hub for everything related to Raspberry Pi, including tutorials, project ideas, and a community forum.
- RobotShop Community
- A forum dedicated to robotics enthusiasts, where you can find discussions, advice, and support on various robotics topics.
- Stack Overflow
- An excellent resource for troubleshooting coding issues, with a vast community ready to help with programming questions.
YouTube Channels
- Jeremy Blum
- Offers tutorials on Arduino and electronics, making it easier to understand complex concepts in robotics.
- Paul McWhorter
- Provides in-depth Arduino and robotics tutorials that are beginner-friendly and highly practical.
- GreatScott!
- A channel dedicated to electronics and DIY projects, including a range of robotics builds.
Kits and Components
- Adafruit
- Sells a variety of robotics kits and components, with detailed tutorials on how to use them.
- SparkFun
- Another great source for robotics kits, sensors, and electronic components, along with project ideas.
- Pololu
- Offers a wide range of robotics parts, including motors, controllers, and sensors, suitable for both beginners and advanced builders.